Recommended
ESP32-C3 SuperMini
Thumbnail-sized RISC-V board with WiFi and USB-C. Usually sold in multi-packs — handy for a class or a spare.
Buy on AmazonA browser-based sensor lab for a few pounds of hardware. Flash the firmware, plug in a sensor, and read it from any phone or laptop — no app, no cloud, no accounts.
The software is free and always will be. If you're buying parts to build a lab, using the links on this page costs you nothing extra and sends a small commission my way — it helps keep the project going. Thank you!
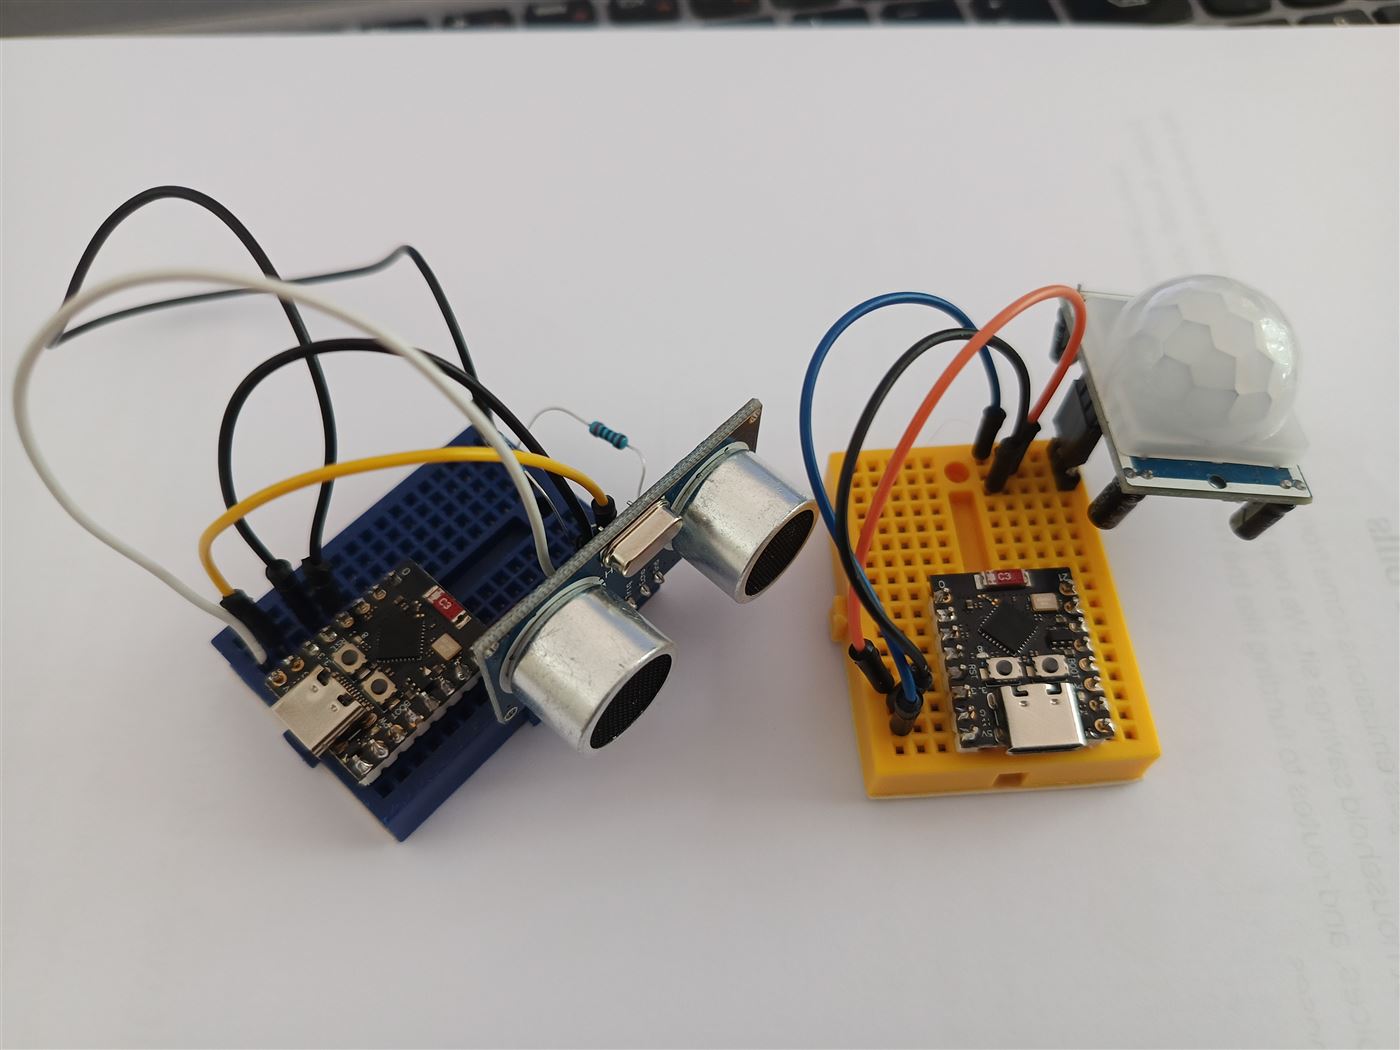
A C3 SuperMini, a mini breadboard, a few jumper wires and a sensor. That's the whole lab.
The firmware runs on either of these. Start with the C3 if you're unsure — it's tiny, cheap and has USB-C.
Thumbnail-sized RISC-V board with WiFi and USB-C. Usually sold in multi-packs — handy for a class or a spare.
Buy on AmazonThe original ESP32 dev board. More GPIO pins, plenty of tutorials online. Look for a USB-C version if you can.
Buy on AmazonLots of cheap cables are charge-only and won't flash the board. A proper data cable saves a lot of head-scratching.
Buy on AmazonNo soldering needed — everything pushes into a breadboard.
170-point minis, one per sensor, like the ones in the photos. Cheap in multi-packs of mixed colours. The C3 SuperMini fits with room to spare.
Buy on AmazonGet a mixed pack — male-male, male-female and female-female. The sensor modules mostly need male-female.
Buy on AmazonFor the first "blink an LED" lesson and PWM dimming. An assortment with 220Ω resistors covers it.
Buy on AmazonThe simplest input there is. The firmware's internal pull-ups mean no extra resistors needed.
Buy on AmazonOne box, lots of sensors. A kit covers most of what the lab supports, and plenty more to explore.
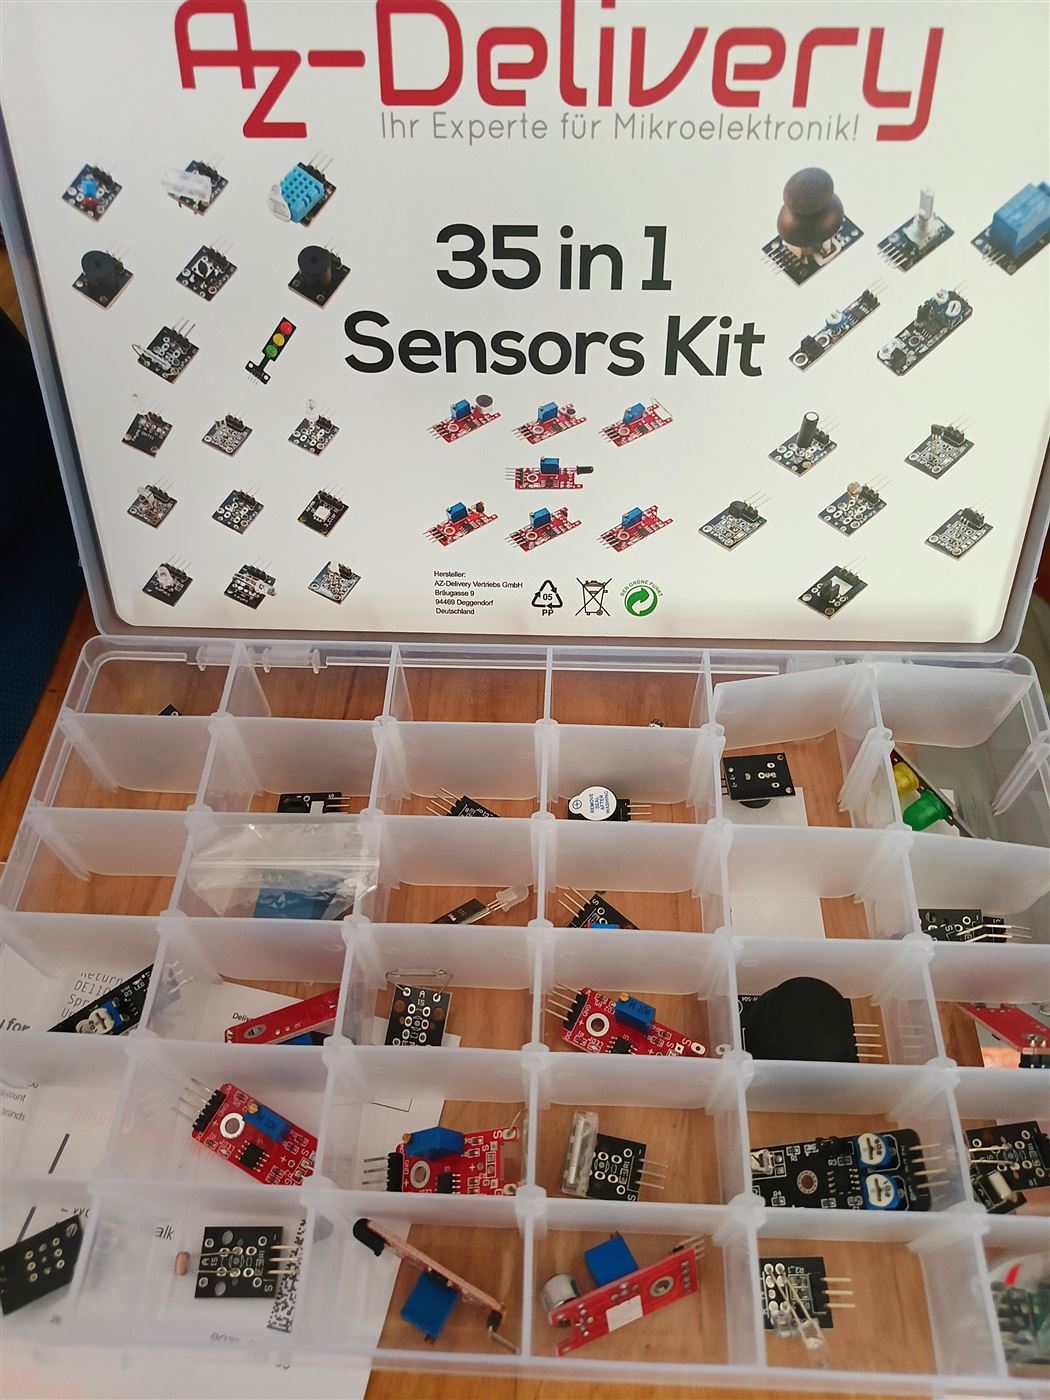
A sorted box of ready-made sensor modules: temperature, light, sound, buttons, buzzers, LEDs and plenty more to try once you have the basics. Everything is labelled and plugs straight into a breadboard. Ideal for a classroom or a curious kid.
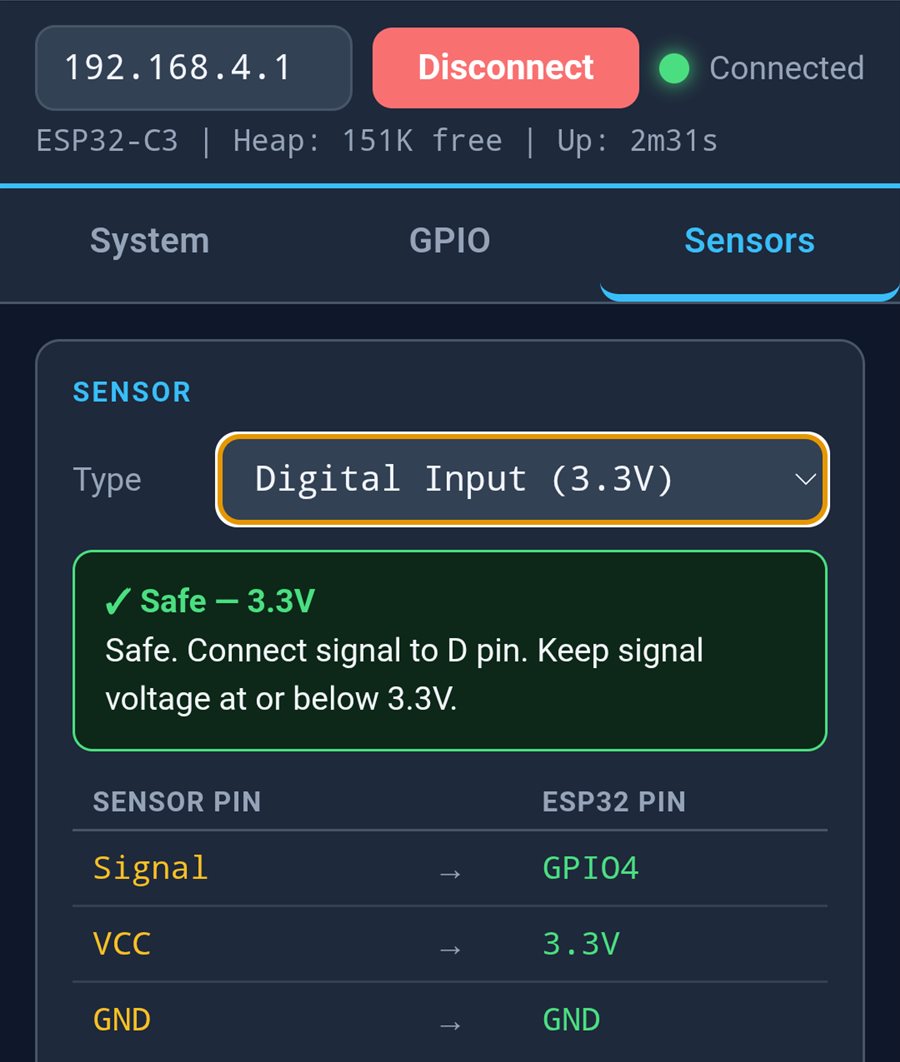
Buy on AmazonEvery one of these has a built-in wiring guide in the lab's Sensors tab.
The classic blue sensor. Get the 3-pin module version — it has the pull-up resistor already fitted.
Buy on AmazonStainless steel probe on a lead — drop it in a cup of tea, a fish tank or the garden soil. Needs one 4.7kΩ resistor.
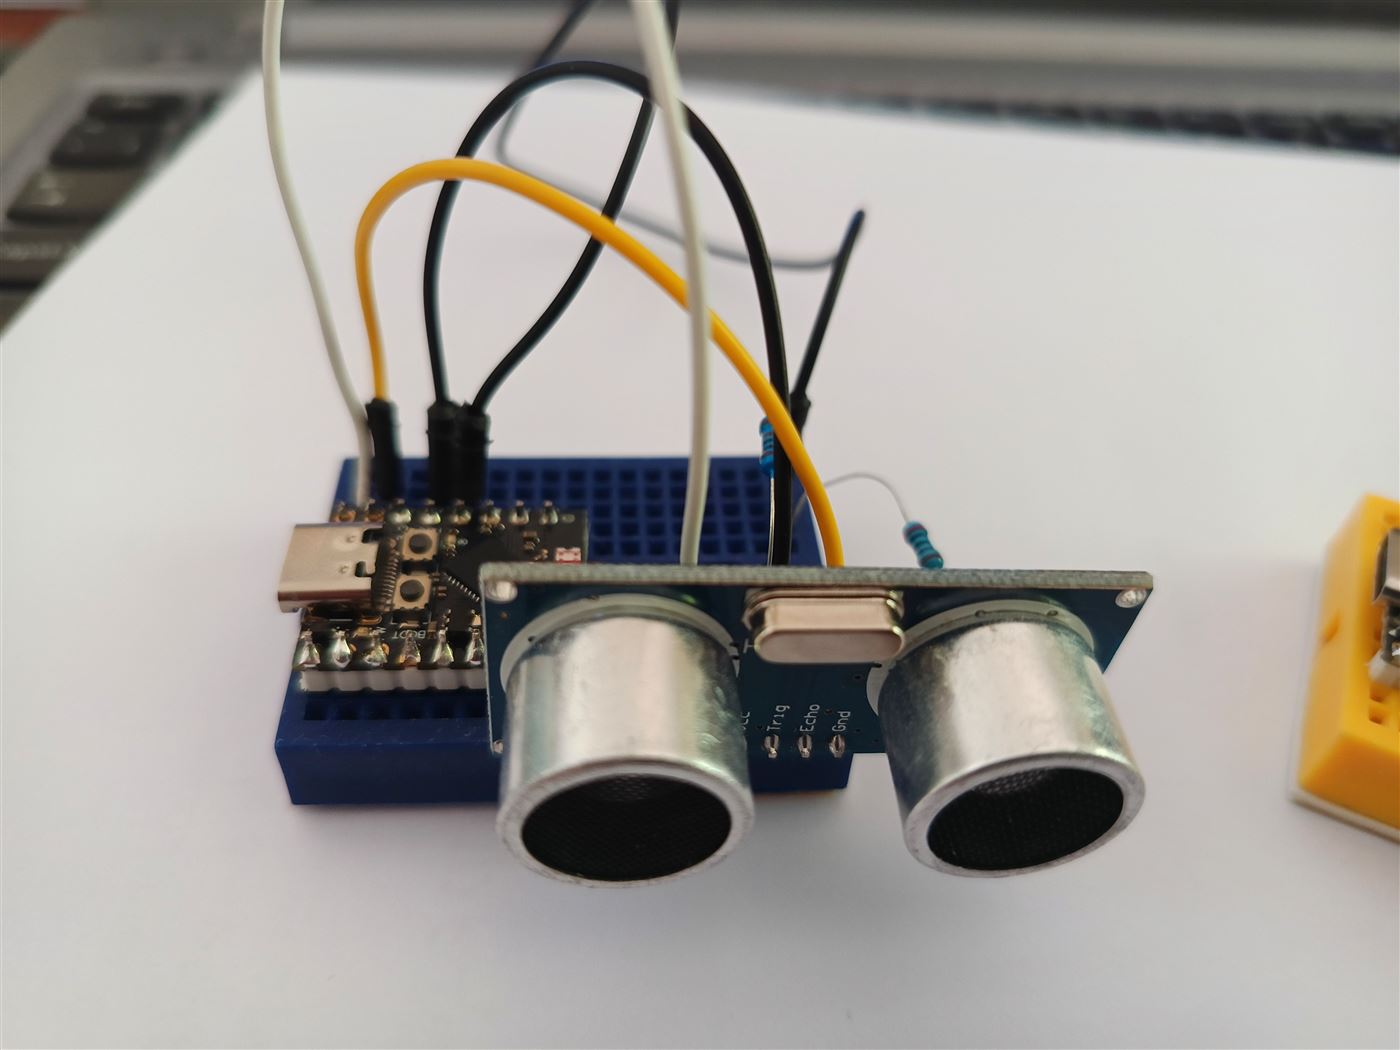
Buy on AmazonBat-style sonar, 2cm–4m. Make sure it's the P version (3.3V-safe) — the plain HC-SR04 needs 5V.
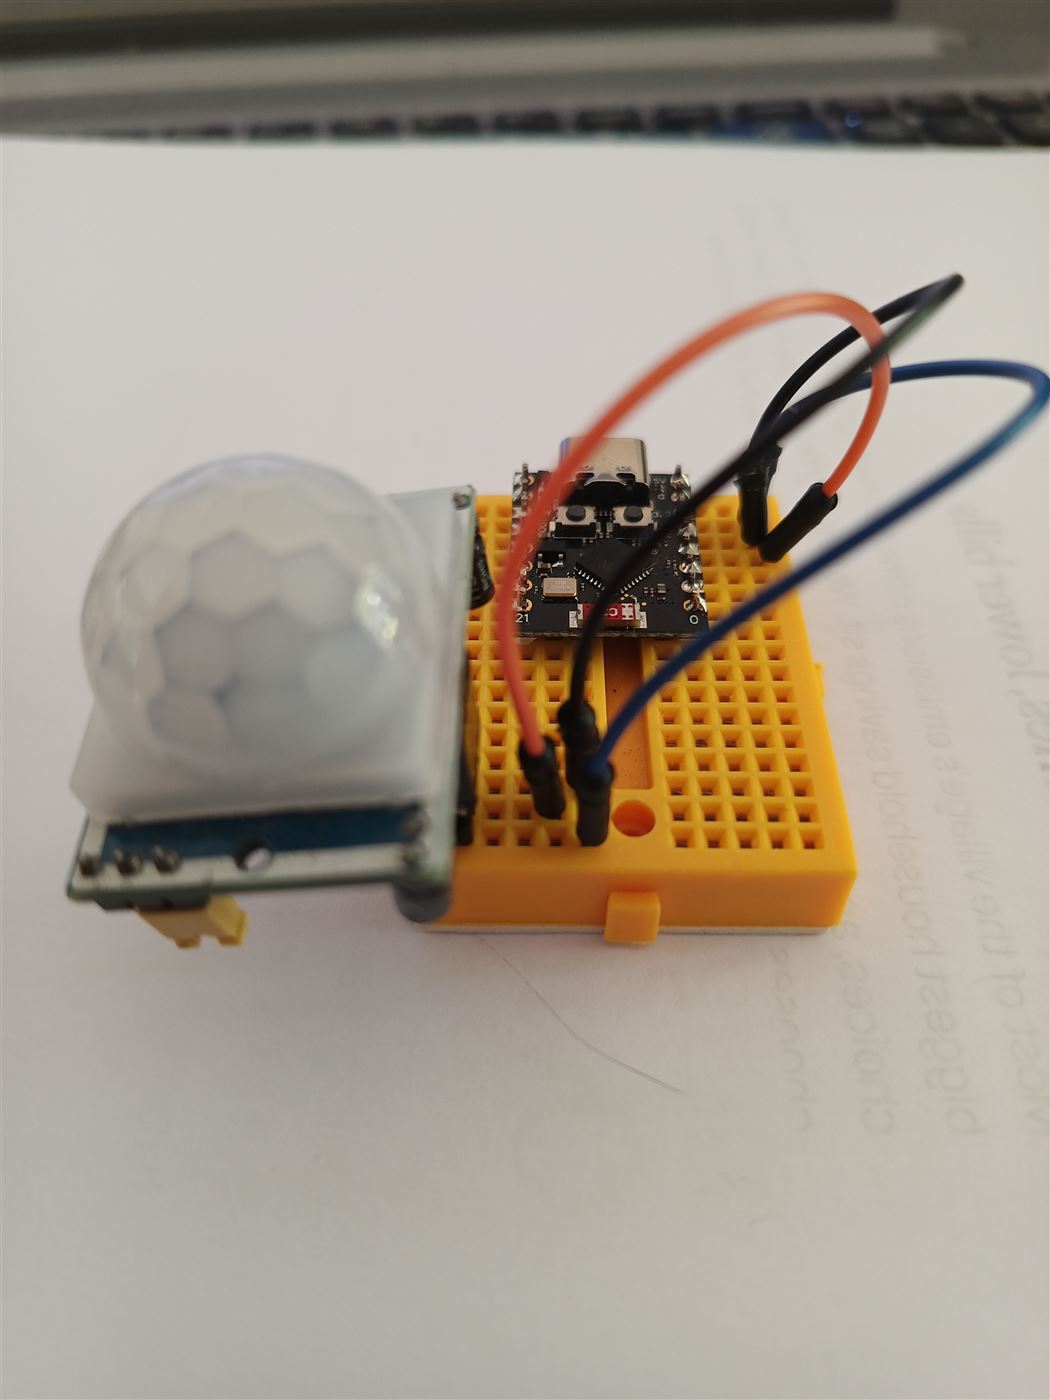
Buy on AmazonThe white dome from burglar alarms. It spots body heat moving across the room. Power it from the 5V pin; its output is 3.3V-safe, so it wires up as a plain digital input.
Buy on AmazonThe click-wheel knob from every 3D printer and car stereo. Great for showing how direction is decoded.
Buy on AmazonTurn a knob, watch the number change. The best introduction to analog-to-digital conversion.
Buy on AmazonPhotoresistors — cover it with your hand and watch the reading drop. Pair with a 10kΩ resistor.
Buy on AmazonMake noise! A passive buzzer lets PWM play different tones — the active kind only beeps.
Buy on Amazon